
Setting up Cloudflare Turnstile in Authentik#
I’m assuming you already have Authentik installed and configured (see the initial setup article, and also OIDC, OAuth2, and Proxy Provider if you’re protecting a third-party app). Cloudflare Turnstile is a modern alternative to CAPTCHA that lets you protect authentication forms from bots and brute-force attacks without forcing users to decipher images or type in characters.
If you found this article useful and would like to thank the author, you can do so via the corresponding link on boosty
Cloudflare Turnstile is an analog of Captcha technology, but for Cloudflare users. If you specifically need to set up Captcha, you can read more in the official documentation
As of July 1, 2025, changes to Russian personal data legislation (Federal Law No. 152) came into effect, under which using Google reCAPTCHA or its analogs on sites that transfer data abroad becomes a violation. Keep this restriction in mind if you plan to use this service for commercial activity.
Why use Cloudflare Turnstile in Authentik#
By default, Authentik already has decent protection against:
- brute-force attacks;
- username enumeration;
- automated login attempts.
However, when exposing your IdP to the internet, this is often not enough.
Cloudflare Turnstile lets you:
- filter out bots before the flow even runs;
- reduce the load on Authentik;
- improve the user experience compared to classic CAPTCHAs;
- raise the overall security level without complicating your flow logic.
In other words, in addition to the authentication and authorization methods we already set up in previous articles, we’re adding one more verification method.
Visually, it looks something like this

Requirements#
Before you start, make sure that:
- you have a Cloudflare account;
- the domain where Authentik is hosted has been added to Cloudflare.
Unfortunately, these are mandatory requirements for using this technology.
Creating a Turnstile widget in Cloudflare#
- Go to the Cloudflare dashboard.
- Open the Security > Turnstile section (Cloudflare periodically moves menu items between sections - at the time of writing this was under “Protect & Connect”, now it’s moved to “Security”. If you still can’t find it, just search for “Turnstile” in the dashboard search).
- Click Add Widget (in some UI versions the button is already called Add site).
- Specify:
- Widget name - any name you like (e.g.
authentik-login); - Add Hostname > Domains - the domain where Authentik runs;
- Widget mode - Managed (recommended for home use).
- Pre-Clearance Mode - Yes
- Level of pre-clearance - interactive
- Widget name - any name you like (e.g.
Change the last two settings however you see fit, depending on your needs and level of paranoia.

Once created, you’ll receive:
- Site Key
- Secret Key
You can copy them, but Cloudflare kindly notes that you’ll always be able to access them again later.

Creating a Captcha Stage in Authentik#
Configuring the stage in Authentik#
Now let’s move on to the configuration in Authentik.
- Open the Authentik admin panel.
- Go to Flows and Stages → Stages.
- Click Create.
- Select Captcha Stage.

- Give the stage a name.
- For the verification type, select Cloudflare Turnstile.
- In the
Public keyandPrivate Keyfields, enter the values we got from Cloudflare. - You can leave the
Interactivetoggle enabled if your Turnstile is configured asInvisibleorManaged.
Don’t touch anything in the Advanced Settings section. In the version of Authentik current as of writing, the correct values are already filled in automatically. Previously you had to enter them manually. You can read more in the official documentation

- Finish
Integrating the Turnstile stage into the main authentication and authorization flow#
- Open the
Authentikadmin panel. - Go to Flows and Stages → Flows → default-authentication-flow.
- Select Stage Bindings → Bind Existing Stage
- Select the stage we just created.
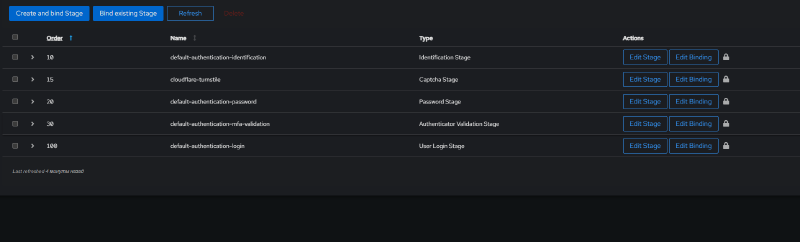
- Choose the processing order for the Turnstile stage - after the authentication stage, but before the password entry stage.
- Select
evaluate when flow is planned. - Create
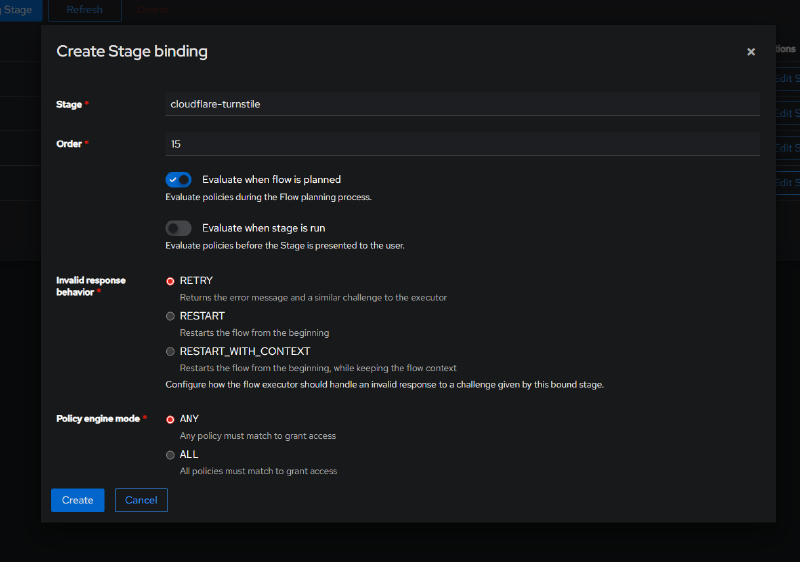
We’ve now integrated the “captcha” stage into Authentik’s authentication process.
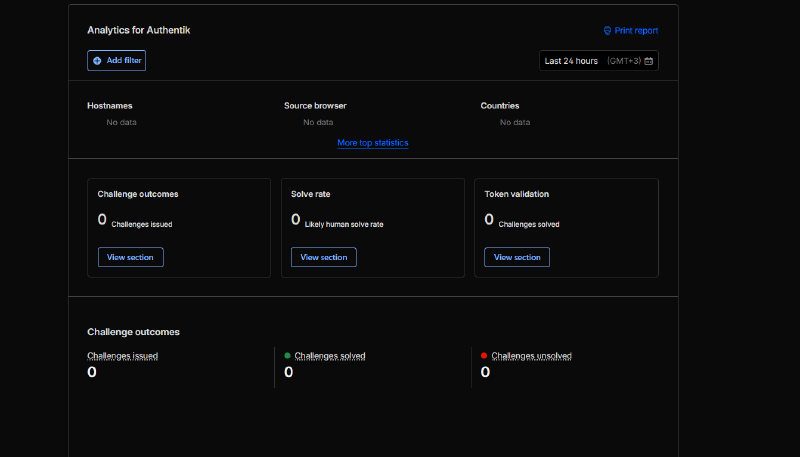
In the Turnstile panel on the Cloudflare site, you can view analytics for this widget