
Most homelabs eventually hit the same wall: every app wants its own login, and you end up juggling a password for Nextcloud, another for Grafana, another for whatever you spun up last weekend. Authentik is the fix for that - a self-hosted identity provider that sits in front of everything else, handles the login once, and hands that trust off to any app that asks for it, whether it speaks SSO, OIDC, or SAML, plus group and access-policy management on top.
If you’re not yet familiar with Authentik’s architecture and features, it’s worth reading the general overview first. In this article, we’ll go over how to perform the initial setup of Authentik after installation - to quickly get your own IDP up and running.
Initial registration#
I’m assuming you’re using Docker for deployment. I provided a sample docker compose file in the previous article. Note that starting with version 2025.10.0, the developers removed the redis container from the equation. Unfortunately, the developers overlooked something in that version, and if you look at the postgres logs, you’ll see the postgres container giving us something like this
2025-11-11 14:14:03.578 UTC WARNING: you don't own a lock of type ExclusiveLockThis should be fixed in future versions, but in any case, this bug doesn’t affect the application’s functionality in any way.
So, we’ve prepared our docker-compose file and started it with the good old docker compose up -d command
Check that all three containers are running. Since the application is far from lightweight, starting it up will take some time.
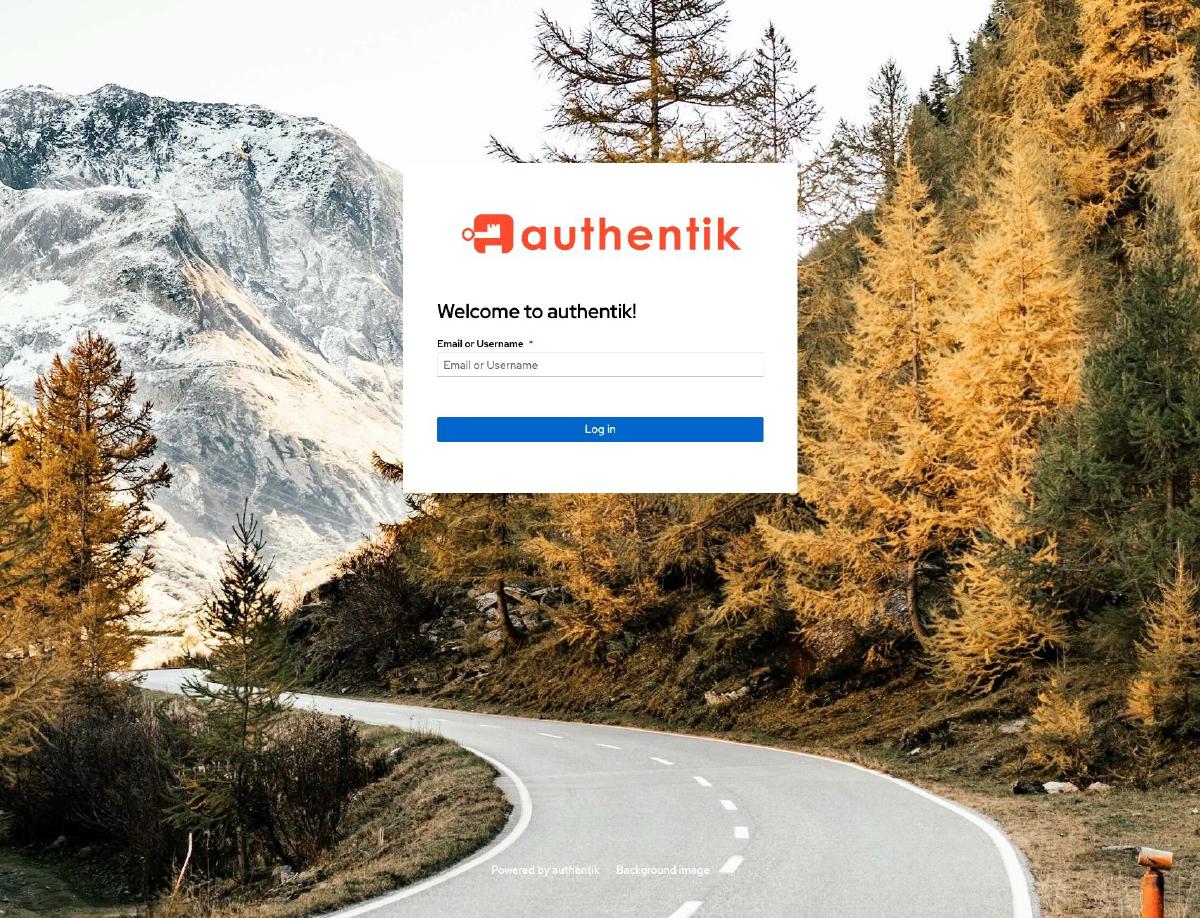
Once the application is running, we can navigate to the subdomain we assigned to the application via our reverse proxy, in my case that’s
authentik.stilicho.ruHowever, when we go to that address, the application asks us for a username and password, which we don’t have yet.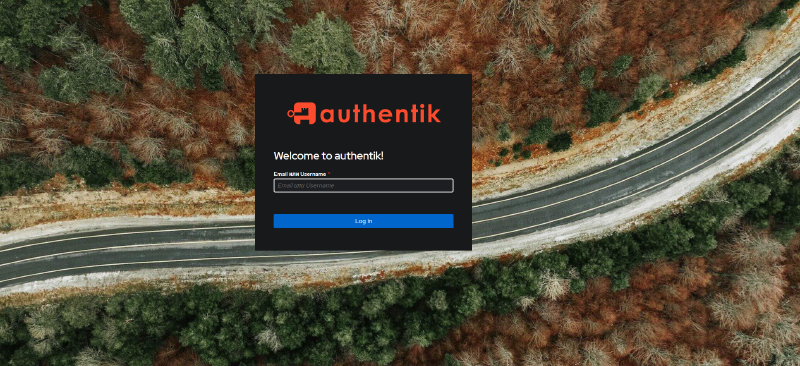
The thing is, to create the initial administrator, you need to go to the link
https://authentik.your_domain_name.ru/if/flow/initial-setup/Note the trailing slash at the end of the link - that’s important
Now you’ll land on the full initial registration menu
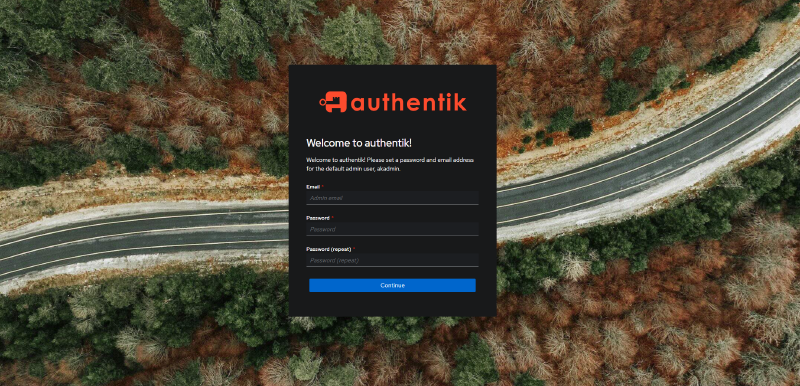
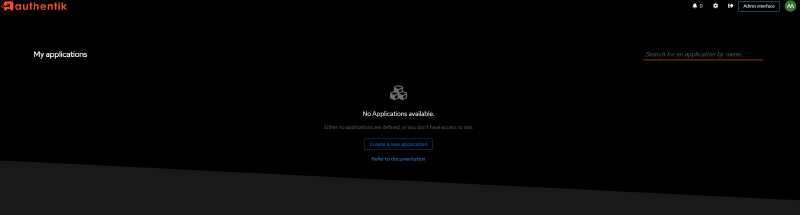
Enter an email address and password, and it’s entirely unnecessary to use a real email - I’ll explain why a bit further down. Once you’ve entered all the required data, you land on the main menu. The home page, where all the applications we set up access to via Authentik will be displayed
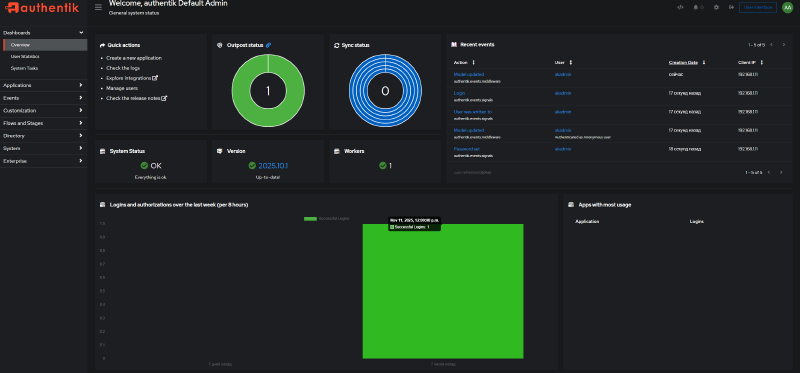
and the settings menu for Authentik itself
Creating a new administrator#
Now let me explain why I said not to bother with a real email for the administrator.
The thing is, by default, the first administrator we create has the nickname akadmin, and that’s a fixed value. So it’s much safer to create a new user, make them an administrator, and deactivate the original administrator.
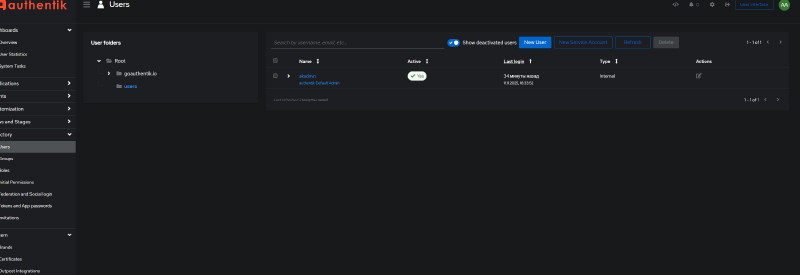
Go to Directory > Users > New User
Fill in all the necessary data. Be sure to specify an email address. Leave the attributes section alone for now. We’ll need it in the future, when we set up applications with OIDC, where users will be automatically created that are already present in Authentik, and we’ll need to assign the appropriate permissions to those users. In short, we’ll be managing user permissions for specific applications or services at the Authentik level.
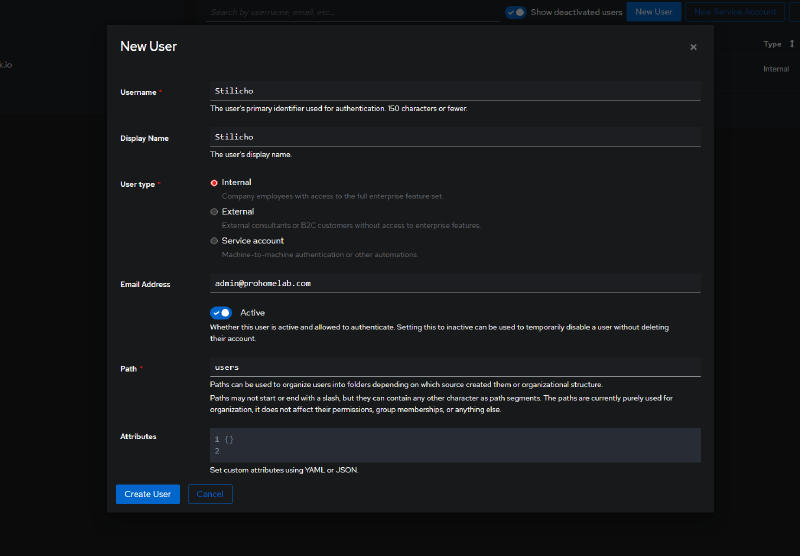
Click Create User
Now we need to set a password. Of course, the password should be complex. I generate passwords using Vaultwarden, setting the length to at least 42 characters
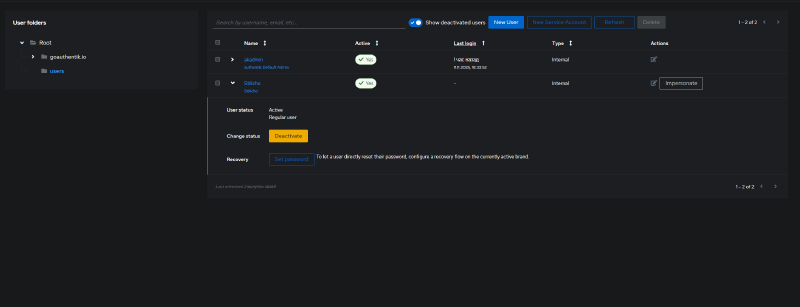
Now let’s grant our user superuser privileges.
Go to Directory > Groups, and select the superadmin group authentik Admins
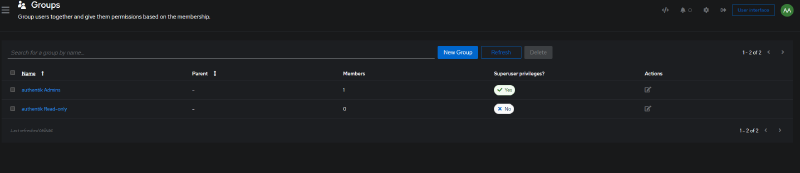
Go to the Users tab, select Add existing user, click +, and add our new user. You’ll get a warning that “with great power comes great responsibility”, but we’re not afraid of anything.
Now calmly log out of the akadmin account and log in as the new user.
Disabling the default administrator#
The next step is to disable the initial administrator account. Go to Directory > Users, click the down arrow next to our akadmin, and disable it with the deactivate button
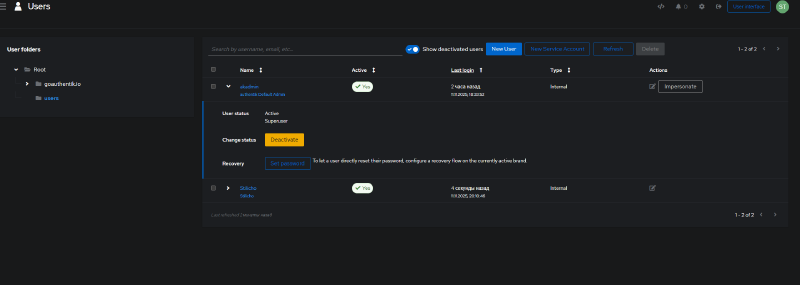
Overview of the admin/user settings panel#
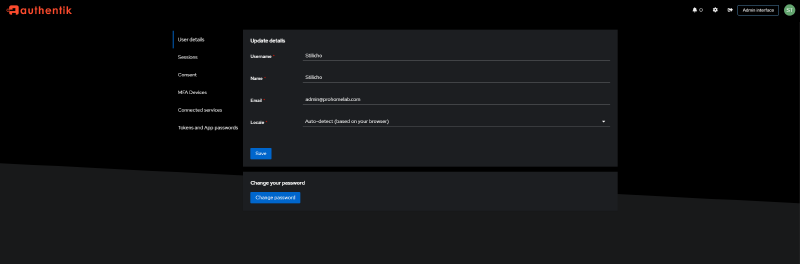
Clicking the ⚙ icon at the top next to our username takes us to the user’s personal settings menu
👤 User profile#
This section lets you view and change basic account details.
Available fields:
- Username - a unique username (unchangeable after creation).
- Display name - the name shown in the interface and when logging into applications.
- Email address - used for notifications, confirmation, and access recovery.
- Locale - the interface language.
🔒 Sessions#
Shows all active sessions where the user is authenticated via Authentik.
Columns:
- Last IP - the IP address the login was made from.
- Last used - the last time Authentik was accessed from this session.
- Expires - when the session expires.
Available actions:
- Terminate an individual session (for example, if you logged out on a device).
- Terminate all sessions except the current one - for a full logout from all devices.
🔐 Useful if a device is lost or a password is changed.
🪪 Consent#
This section shows a list of applications the user has granted access to their data via OpenID Connect (OIDC).
Information for each entry:
- Application name - the name of the application (e.g., Grafana, Vault, Gitea).
- Scopes - what data has been permitted for use (
openid,email,profile, etc.). - Date granted - when consent was given.
Actions:
- Revoke consent - after this, the application loses access, and will ask for permission again on the next login.
The most interesting menu section
🔐 MFA Devices#
Manage connected two-factor authentication devices.
Supported types:
- TOTP - one-time codes (Google Authenticator, Authy, 1Password, etc.).
- WebAuthn / FIDO2 - hardware security keys (YubiKey, Touch ID, Windows Hello).
Columns:
- Device name - the name of the device.
- Last used - when it was last used.
- Added on - the date it was connected.
Actions:
- Add a new 2FA device.
- Remove a registered device.
💡 It’s recommended to have at least one backup device (for example, TOTP and WebAuthn).
🔗 Connected services#
Shows external services linked to the Authentik account.
Example connections:
- GitHub
- Microsoft Entra ID (Azure AD)
- LDAP
Columns:
- Service - the name of the external provider.
- Last used - the last time this service was used to log in.
Actions:
- Disconnect from the external provider (Unlink).
🔗 Allows logging in via external accounts without creating a new password.
🧩 Tokens and App passwords#
A section for managing personal access tokens and application passwords.
Used for:
- Accessing the Authentik API without an interactive login.
- Connecting CLI tools or integrations.
Columns:
- Name - the name of the token or application.
- Last IP - the IP the token was used from.
- Last used - the last time it was used.
- Expires - the expiration date.
Actions:
- Create a new token.
- Set an expiration date and access level (scopes).
- Delete or revoke an existing token.
🔒 A created token is shown only once - save it somewhere safe.
🧭 Summary#
The User Settings section in Authentik lets a user:
- View and edit their profile data,
- Control active sessions,
- Manage granted permissions (Consent),
- Connect or remove 2FA devices,
- Configure external login services,
- Create and revoke API tokens.
This is a powerful self-service tool that simplifies security and personal data management.