
If you enjoyed this article, you can support the author by becoming a sponsor on Boosty.
Duplicati + Docker: automatic backups in 10 minutes#
Backups are one of the most important parts of any infrastructure.
Even in a home homelab - and really, everywhere else too - losing data can be very costly. And it’s not just about the data itself, but also the time it takes to restore it. It’s quite possible the latter ends up being even more expensive.
I have a video on my YouTube channel about installing and configuring Proxmox Backup Server. But that’s a fairly specific solution, and not everyone runs Proxmox in their homelab. If you’d rather have a more flexible, restic-based setup, Zerobyte is worth a look too.
In this article, we’ll cover:
- what Duplicati is
- how to install it on a server
- how to set up automatic backups
- how to store backups locally and in the cloud
What is Duplicati#
Duplicati is an open-source backup system that supports:
- AES-256 encryption
- deduplication
- incremental backups
- cloud storage
- a web management interface
Supported storage:
- S3
- Backblaze B2
- Google Drive
- WebDAV
- FTP / SFTP
- local disks
- NAS
This makes it a great solution for Homelab and self-hosted infrastructure, since it covers everything a typical homelabber needs.
Key features#
Among the main features, it’s probably worth highlighting:
Encryption#
All data can be encrypted client-side before being sent.
Supported:
- AES-256
- passphrase protection
This means even the cloud provider can’t read your data. In other words, you can be relatively at ease about backups in the cloud and about nobody training their AI models on your data.
Incremental backups#
Duplicati stores data in blocks.
This lets it:
- save only the changes
- reduce storage size
- speed up backups
Since the system only saves the information that actually changed, everything happens very quickly, and it’s easier for us to plan disk space usage.
Web interface#
After installation, you get a convenient web panel.
Through it you can:
- create jobs
- manage the schedule
- restore files
- check backup status
There’s not much to explain here, honestly. Of course, seasoned admins might turn up their noses - “a graphical interface, how tacky.” But don’t fall for the provocation. A GUI is fine. As long as it wasn’t drawn by a middle-schooler.
Docker compose file from the video#
I used the build (image) from linuxserver.io as the most user-friendly option for a homelab
services:   # Section describing all Docker services
  duplicati:   # Service name
    image: linuxserver/duplicati:latest   # Docker image, latest Duplicati version from LinuxServer
    container_name: duplicati   # Container name in Docker
    hostname: duplicati   # Hostname inside the container
    entrypoint:   # Override the container's entrypoint
      - /init   # Uses the /init script provided by the LinuxServer image
    #ports:   # Publish container ports on the host
    #  - 8200:8200 # MGMT UI - Duplicati's management interface will be available on port 8200
    #expose:   # Port that will be visible to other containers on the Docker network
    #  - 8200
    environment:   # Environment variables for the container
      - PUID=0   # User UID inside the container (0 = root, typically for testing/administration)
      - PGID=1000   # Group GID inside the container (should match your group on the host)
      - TZ=Europe/Moscow   # Container timezone
      - SETTINGS_ENCRYPTION_KEY=B2NcaR2X6gwSGt # Duplicati encryption key (must be changed!)
      - DUPLICATI__WEBSERVICE_PASSWORD=adminadminadmin # Web interface password (must be changed!)
    restart: unless-stopped   # The container will automatically restart if it crashes, except on manual stop
    volumes:   # Mounting host directories into the container
      - /home/stilicho/docker/duplicati/backups:/backups   # Directory for storing backups
      - /home/stilicho/docker/duplicati/config:/config   # Duplicati configuration and settings
      - /home/stilicho/docker:/source # Directory with source files to back up (can be changed)
    networks:   # Docker network the container will run in
      - proxy
    labels:   # Labels for Traefik (reverse proxy)
      - "traefik.enable=true"   # Enable Traefik handling for this container
      - "traefik.docker.network=proxy"   # Use the proxy network for Traefik
      - "traefik.http.routers.duplicati.entrypoints=web"   # Traefik entrypoint (port 80)
      - "traefik.http.routers.duplicati.rule=Host(`duplicati.stilicho.ru`)"   # Domain the service is available on
      - "traefik.http.middlewares.duplicati-https-redirect.redirectscheme.scheme=https"   # Redirect HTTP -> HTTPS
      - "traefik.http.routers.duplicati.middlewares=duplicati-https-redirect"   # Attach the redirect middleware
      - "traefik.http.routers.duplicati-secure.entrypoints=websecure"   # Traefik HTTPS route (port 443)
      - "traefik.http.routers.duplicati-secure.rule=Host(`duplicati.stilicho.ru`)"   # HTTPS domain
      - "traefik.http.routers.duplicati-secure.tls=true"   # Enable TLS
      - "traefik.http.routers.duplicati-secure.tls.certresolver=cloudflare"   # Use Cloudflare for certificate generation
      - "traefik.http.routers.duplicati-secure.service=duplicati"   # Assign the service for the route
      - "traefik.http.services.duplicati.loadbalancer.server.port=8200"   # Service port inside the container for Traefik
      #- traefik.http.routers.duplicati.middlewares=ipwhitelist@file   # (commented out) example of IP restriction

networks:   # Section describing networks
    proxy:   # Network named proxy
external: true # Use an external Docker network created beforehand (e.g. for Traefik)- PUID=0 means root inside the container. For production, it’s better to use an unprivileged user.
- SETTINGS_ENCRYPTION_KEY and DUPLICATI__WEBSERVICE_PASSWORD must be changed to your own values, otherwise the data and web interface are insecure.
- /source mounts the entire
/home/stilicho/docker; if you don’t need to back up everything, it’s better to narrow the path down to specific folders. - The Traefik labels handle HTTPS and redirects. If Traefik isn’t set up yet, they can be removed until the proxy is configured.
- it’s best to specify passwords and other sensitive data via a separate .env environment file
Working with the app#
Since I already have a video review, in this article I’ll only cover the key details.
After installing the app, go to the subdomain. A welcome screen will open, where you need to enter the admin password specified in the docker-compose file.

We’re met with a fairly minimalist menu with a “retina-burning” light mode. Dark mode can be enabled in the Settings section.

In the Add backup section, you can choose the action you want: create a new backup or restore one from a config file (if you have one).

Since we need to create a backup, we choose the Add new backup option.
In the menu that appears, we set the necessary parameters. If you want, you can enable encryption for the backup.

In the next two windows, we choose:
- where to store the backup
- which service to use
In the video I chose File system, since I was backing up demo files to storage mounted via fstab.


The app will offer to test the connection.
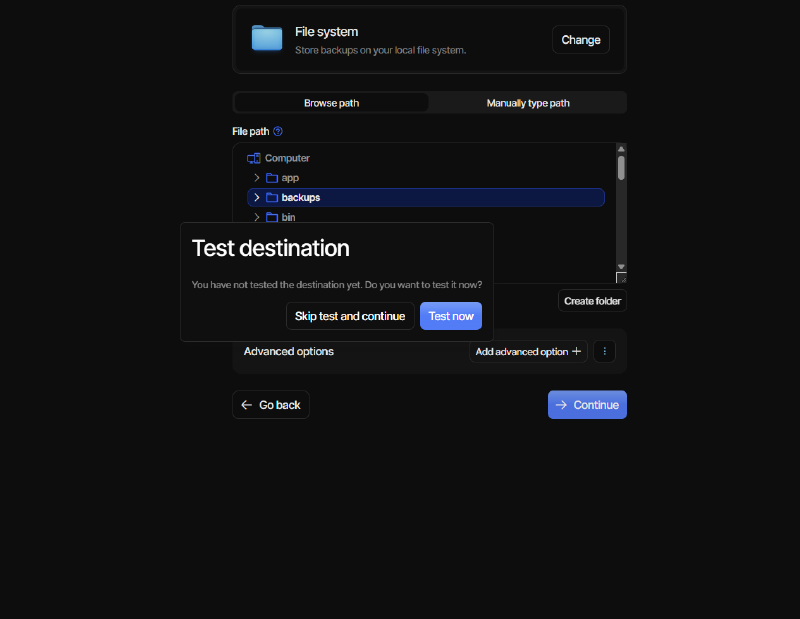
If everything’s fine, the next window lets you choose the files to back up.
In our case, we choose the source directory, since that’s what’s specified in the docker-compose file:
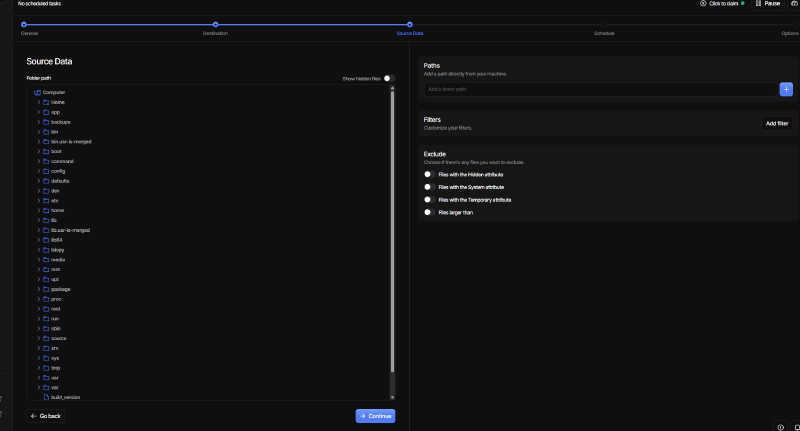
/home/stilicho/docker:/source # Directory with source files to back up (can be changed)Next, we set the backup schedule.
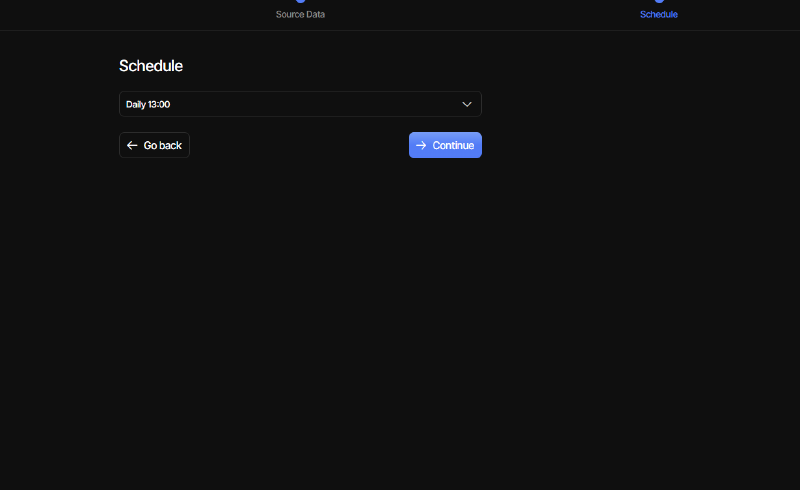
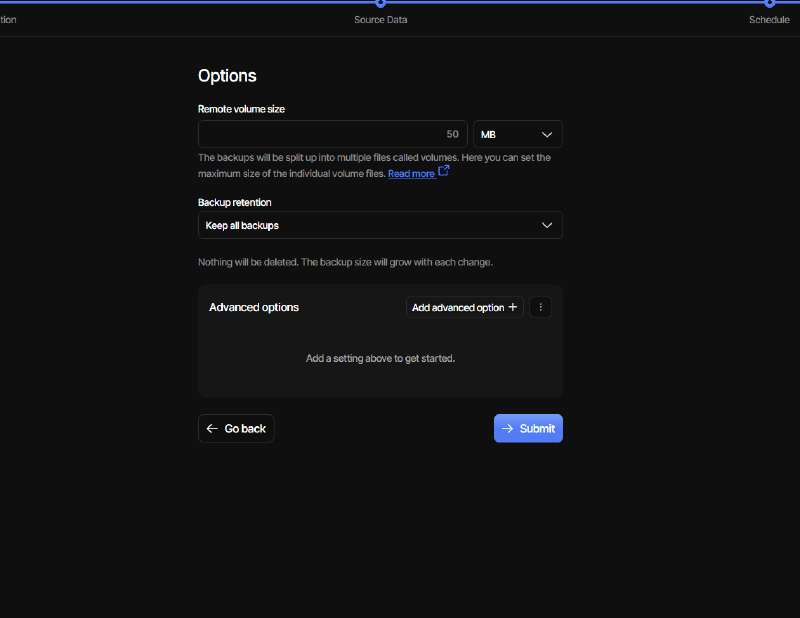
The next window lets you configure additional parameters: volume size, number of retained copies, and so on.
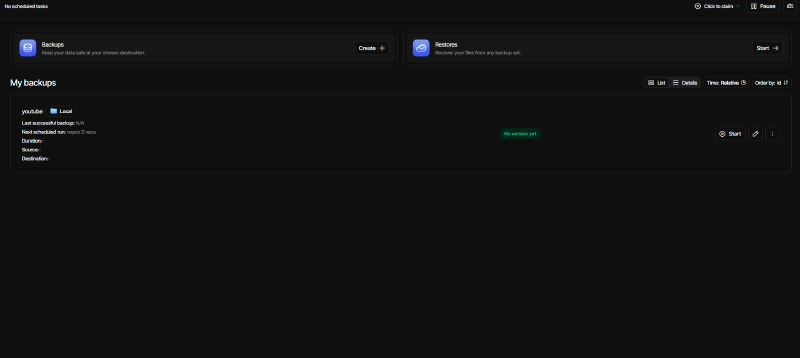
Once the setup is done, your backup jobs will appear in the Home section.
As I mentioned above, to keep this article from getting too long, I won’t go into detail on the restore process. It’s shown in the video review, and everything there is fairly logical and intuitive.