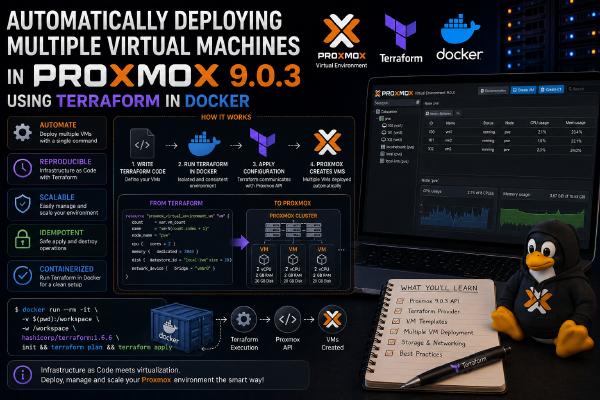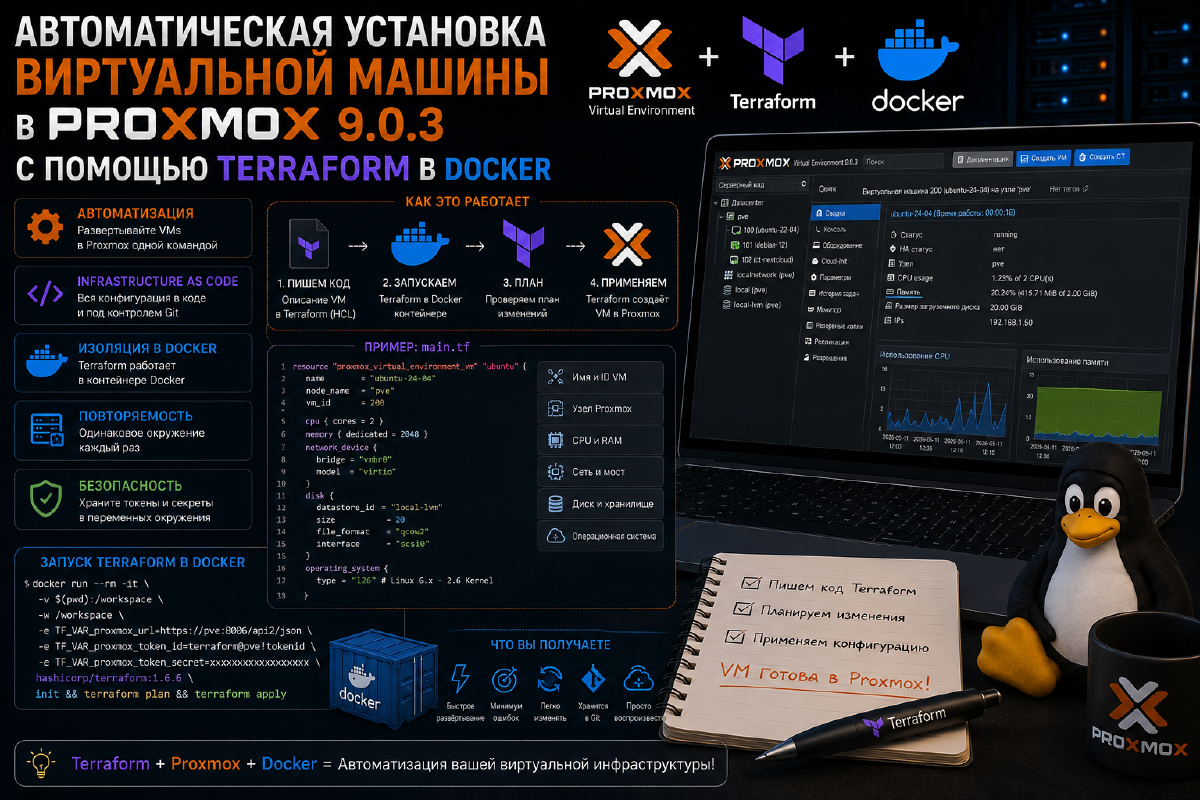

With this article I’m continuing the topic of automating the setup and configuration of our infrastructure using Proxmox. If you enjoyed this article, you can support the author by becoming a sponsor on Boosty (link in the contacts section).
Earlier I talked about how to create templates in Proxmox - a “snapshot” of a virtual machine or LXC container’s state at a point in time, from which we can then “deploy” copies of machines; and how to create virtual machines using cloud-init. Now let’s put that secret knowledge to use and take our infrastructure-deployment automation a step further by starting to use Terraform.
Why automate creating virtual machines in the first place?#
Manually creating VMs in Proxmox is convenient at the start, but as the number of instances grows the process becomes labor-intensive, and consequently error-prone. Sure, deploying one or two VMs isn’t going to break anything. But what if you need to deploy more than 5 virtual machines at once?
Why automate creating virtual machines at home?#
Whatever you build needs to be maintained. Because all your infrastructure, built with so much effort, can easily fall apart or even break if you don’t pay proper attention to maintenance and support.
You’ve spent countless hours building your infrastructure, getting every detail right, reading a ton of articles and manuals, and watching a pile of YouTube videos of varying usefulness. But what happens if something goes wrong and you have to rebuild everything from scratch? What if all your hard work simply vanishes with a stray Ctrl+Alt+Del?
The topic of this article#
In this article, and in the video at the top of it, I’ll show you how to set up Terraform to maintain your infrastructure so that you never have to rebuild everything from scratch, digging through your notes (if you keep any), or through the deepest corners of your memory (if it’s working) trying to reconstruct the sequence of steps you took.
Whether it’s a small config change or managing entire virtual machines - Terraform will help you keep everything under control.
Using Terraform lets you describe your infrastructure configuration as code (IaC), which lets you:
- Create VMs with identical parameters in seconds.
- Version your infrastructure.
- Integrate deployment into CI/CD.
- Improve environment reproducibility and predictability.
Just in case, let me clarify: infrastructure as code is when we describe the hardware side of our system in text form. Don’t confuse this with Ansible, where the principle is the same, but there we describe the software environment.
What is Terraform?#
Terraform is a tool from HashiCorp that helps declaratively manage infrastructure using corresponding configuration files. This means we don’t have to manually create virtual machines, networks, and so on. It’s enough to write a configuration describing how you envision your future infrastructure. Such a configuration is created in a text-based YAML format. Accordingly, changes to our infrastructure are also made by editing the text file. For beginners, this might seem complicated and confusing at first, but once you get into it, you’ll appreciate the beauty of keeping your entire infrastructure in a couple of text files. You get the appeal of describing your software in a docker-compose file, right? It’s pretty much the same here. And Terraform supports a wide range of platforms, including Proxmox VE.
Keep in mind that at the moment, accessing the Terraform website may require an appropriate workaround, since they’ve blocked access from us.
Installation options for Terraform#
How to install Terraform in Docker
Terraform can be installed in several ways; I’ll loosely split them into two options: native and via Docker. I’ll describe installation via Docker. Why?
Both installation methods - native and via Docker - have their pros and cons. The choice depends on your goals, environment, and preferences. Let’s look at the pros and cons as I see them. By the way, if you disagree, leave a comment under the video. I hope you understand that all these pros and cons are fairly relative.
Native Terraform installation#
Pros#
- Simple, direct access: you can call
terraformstraight from the terminal. - Integration with other CLI tools: Ansible, Packer, etc.
- IDE support: autocomplete, syntax highlighting, and plugins in VS Code and other editors.
- Convenient local editing and testing.
- Starts faster than through Docker.
Cons#
- Requires manual version control. High likelihood of provider-related issues, more on that shortly.
- Possible conflicts between projects using different Terraform versions.
- Needs to be installed and updated manually.
Who it might suit#
Best for local development, frequent infrastructure work, and flexible configuration.
Installing Terraform via Docker#
Pros#
- Doesn’t require installing Terraform on the host.
- Easy to switch between versions using Docker image tags.
- Ideal for CI/CD pipelines (GitHub Actions, GitLab CI, etc.).
- Environment isolation - no dependency conflicts.
Cons#
- Less convenient for interactive work.
- Requires mounting volumes and specifying paths manually (-v $(pwd):/workspace).
- Slower startup compared to native installation.
- Doesn’t work directly with the local SSH agent or environment variables without explicitly passing them through.
Who it might suit#
Ideal for automation, CI/CD, and one-off scenarios where environment isolation matters. Works well for home use too.
Conclusions#
| Scenario | Recommended approach |
|---|---|
| Local development, frequent interaction | Native |
| Automation and CI/CD | Docker |
| Working with multiple Terraform versions | Docker |
| Flexibility and deep system integration | Native |
Installing Terraform#
Let’s create a directory and call it terraform, so we don’t get confused.
Step 1: Creating the project structure#
mkdir terraform
cd terraform
Create a docker-compose.yml file with the following content:
services:
  terraform:
    image: hashicorp/terraform:latest #Official terraform image
    volumes:
      - .:/terraform # map volumes. The dot means installation goes into the terraform directory we're currently in
    working_dir: /terraform # Set the working directory. It must match the one specified above. Otherwise terraform will get upset and won't work
    network_mode: host # be sure to set the network type to host. This is needed so terraform can talk to proxmox, without requiring extra network configuration that not everyone finds intuitive
Step 2: Installing the Terraform extension in VS Code#
Open VS Code → Extensions → search for Terraform → Install. This extension will help us work with Terraform by interpreting the Terraform language into a structure and format we can understand. I use the official plugin from Hashicorp - the developer of Terraform.
Step 3: Creating a credentials file#
Formally, we could put the credentials in the provider.tf file (more on that shortly), but that’s technically wrong from a security standpoint. So let’s at least try to do it properly here.
Create a file in our directory with the command:
touch credentials.auto.tfvars
# tf.vars stands for terraform variables
Example contents of credentials.auto.tfvars:
proxmox_api_url        = "https://<YOUR_IP>:8006/api2/json"
proxmox_api_token_id   = "root@pam!terraform"
proxmox_api_token_secret = "<YOUR_SECRET>" # proxmox shows it only once, so copy it right away Create a token in Proxmox:
- Datacenter → Permissions → API Tokens → Add
- User:
root@pam - Token ID:
terraform - Uncheck “Privilege Separation”
Step 4: The provider (provider.tf)#
First, let’s define what a provider is. In our case, a provider is a kind of bridge between Terraform and the platform you’re deploying Terraform onto. In our case that’s Proxmox VE, but in production it could be any major cloud infrastructure like AWS, Azure, etc. Each platform has its own provider.
We’ll use the provider from Telmate. This is because there’s no official provider for Proxmox from its developers. And there’s a tricky point here. This provider has versioning issues. Not every version of the provider will work with every version of Proxmox VE. There’s always plenty of grumbling about this online. Very similar to the situation with Nextcloud - everyone needs it, everyone complains, but keeps using it anyway.
Update. At the time of writing, Telmate was the obvious choice, but the situation in the community has since changed: the bpg/proxmox provider has become more actively developed and can do noticeably more - besides VM/LXC it manages users, roles, firewall, SDN, etc. - basically almost everything I’ve written about in my Proxmox articles. If you’re starting a new project from scratch, it’s worth taking a look at it too. But since this guide is built around Telmate, and it’s still functional (just more limited in features), I’m leaving it as-is - the provider logic in Terraform is the same for both options, mainly the source and set of arguments will change.
Open the Terraform Registry → search terraform proxmox → pick the link from Telmate. I chose it because it’s widely used, which makes it easier to “debug.”
Click “Use Provider” and copy the suggested code into our provider data file.
After filling in the copied part of the file, further down the same provider page you’ll find the variables I use in the config file.
Contents:
terraform {
  required_providers {
    proxmox = {
      source = "Telmate/proxmox"
      version = "3.0.2-rc03"
    }
  }
}

provider "proxmox" {
  pm_api_url          = var.proxmox_api_url
  pm_api_token_id     = var.proxmox_api_token_id
  pm_api_token_secret = var.proxmox_api_token_secret
  pm_tls_insecure     = true
}

variable "proxmox_api_url" {
  type        = string
  description = "Proxmox API URL, e.g. https://proxmox.example.com:8006/api2/json"
}

variable "proxmox_api_token_id" {
  type        = string
  description = "API token id in the format user@realm!tokenid, e.g. root@pam!terraform"
}

variable "proxmox_api_token_secret" {
  type        = string
  description = "The API token's secret key"
  sensitive   = true
}
That’s it for this part, let’s move on to initializing everything we’ve just put together.
Step 5: Initializing Terraform#
In the terminal, navigate to the directory containing our files.
Run the following command:
docker compose -f docker-compose.yml run --rm terraform initLet me explain what this means.
In my videos I’ve never run docker with the -f flag before, but this is a special case.
The -f flag specifies exactly which file to run. In our case, docker-compose.yml.
The –rm command says the container should self-destruct once it’s done its dirty work.
Run the command. Once the container has been downloaded, our project will start. That is, the Terraform container gets downloaded, the provider gets downloaded, and all the necessary backend files get set up. In the end we should get a message that Terraform has been initialized. In our terraform directory we’ll see new files. We don’t need to touch them, but their mere presence tells us everything’s fine. That’s exactly how it’s supposed to be. In effect, Terraform is checking whether it can connect to ProxmoxVE.
On Proxmox version 9.0.3 you’ll get an error telling us that Terraform has no idea what this Telmate provider is, where to get its data from, etc. The only way to fix this is by manually downloading the binary file for our provider and specifying the corresponding paths in the docker-compose file.
Let’s do the following:
 sudo mkdir -p ~/.terraform.d/plugins/registry.terraform.io/telmate/proxmox/3.0.2-rc03/linux_amd64 #create the directory for the plugin

 wget https://github.com/Telmate/terraform-provider-proxmox/releases/download/v3.0.2-rc03/terraform-provider-proxmox_3.0.2-rc03_linux_amd64.zip #download the needed plugin version


 sudo unzip terraform-provider-proxmox_3.0.2-rc03_linux_amd64.zip -d ~/.terraform.d/plugins/registry.terraform.io/telmate/proxmox/3.0.2-rc03/linux_amd64 #unzip the plugin and move it to the newly created directory
Once we’ve downloaded, unzipped, and moved everything to the right directory, we need to make changes to our docker compose file:
services:
  terraform:
    image: hashicorp/terraform:latest
    volumes:
      - .:/terraform
      - ~/.terraform.d/plugins/registry.terraform.io/telmate/proxmox/3.0.2-rc03/linux_amd64:/root/.terraform.d/plugins/registry.terraform.io/telmate/proxmox/3.0.2-rc03/linux_amd64:ro
    working_dir: /terraform
    network_mode: host
Here we’re manually specifying the path where our provider needs to be looked up.
Run the command again:
docker compose -f docker-compose.yml run --rm terraform initThis time everything should go smoothly and the project should complete initialization.
Step 6: Checking the current state#
Run the following command.
docker compose -f docker-compose.yml run --rm terraform planAs you can see, this command isn’t much different from the previous one, except for the last value. This command is needed to check which changes would be applied, without actually applying them. Sort of a dry run. So if something goes wrong at this stage, we need to figure out where and why. But no changes are made to the running infrastructure. Since we haven’t configured anything yet or applied any changes, Terraform will simply say everything is up to date. This is a normal response.
But on Proxmox version 9.0.3/4, as of the time of writing this article, you’ll run into an error again. The error will be about “supposedly” insufficient permissions on the token. This isn’t actually true. The issue is that Proxmox 9 removed the VM.Monitor privilege, replacing it with VM.GuestAgent.Audit, and the Telmate provider version 3.0.2-rc03, at the time of writing, didn’t know about this yet and kept demanding a privilege that no longer exists. We created the token from the root user, so we have plenty of permissions. To get rid of this error, let’s make changes to the provider.tf file.
Update. Starting with provider version 3.0.2-rc04 this bug has been officially fixed - the developers removed VM.Monitor from the list of required privileges for Proxmox 9. As of this update (August 2026) the current provider version is 3.0.2-rc09. So if you’re reading this now, update the version in the required_providers block to the current version from the Terraform Registry - and you’ll most likely not need pm_minimum_permission_check = false at all. I’m still leaving this flag below as a working workaround though - it won’t break the configuration even if the bug is already fixed in your case.
terraform {
  required_providers {
    proxmox = {
      source = "Telmate/proxmox"
      version = "3.0.2-rc03"
    }
  }
}

provider "proxmox" {
  pm_api_url = var.proxmox_api_url
  pm_api_token_id = var.proxmox_api_token_id
  pm_api_token_secret = var.proxmox_api_token_secret
  pm_tls_insecure = true
  pm_minimum_permission_check = false # disable the permission check
}

variable "proxmox_api_url" {
  type        = string
  description = "Proxmox API URL, e.g. https://proxmox.example.com:8006/api2/json"
}

variable "proxmox_api_token_id" {
  type        = string
  description = "API token id in the format user@realm!tokenid, e.g. root@pam!terraform"
}

variable "proxmox_api_token_secret" {
  type        = string
  description = "The API token's secret key"
  sensitive   = true
}
We’ll add a new variable, pm_minimum_permission_check = false, which disables the permission check. As of the time of writing, this was the only working option.
Now, if we run the command again:
docker compose -f docker-compose.yml run --rm terraform planwe’ll see that the configuration has been applied. Actually, we haven’t formed any configuration yet - this is just a sanity check for the future.
Step 7: Creating our first virtual machine (youtubetest.tf)#
Let’s have Terraform create our first Ubuntu virtual machine from our previously created template. I have an article on the site and a video on the channel about how to create a template. There’s even a playlist called Proxmox Automation. Time to do this properly.
First, let’s go back to the Telmate site and check the variables we need under the proxmox_vm_qemu section.
Let’s create the corresponding file called youtubetest.tf. This is where we’ll set the values for the virtual machine we’re going to create with Terraform.
touch youtubetest.tfExample contents:
resource "proxmox_vm_qemu" "youtubetest" {
  vmid        = 357 #id of the machine being created
  name        = "youtubetest" # its name
  target_node = "belisarius" # node name
  clone       = "ubuntutemplate" # name of the template we're deploying from
  full_clone  = true
  bios        = "ovmf"
  agent       = 1 # install qemu-guest-agent
  scsihw      = "virtio-scsi-single"
  os_type     = "ubuntu"
  cpu_type    = "x86-64-v2-AES"
  cores       = 2
  sockets     = 1
  memory      = 2048

  disks {
    scsi {
      scsi0 {
        disk {
          size    = "32G"
          storage = "local"
          format  = "qcow2"
        }
      }
    }
  }

  network {
    id     = 0
    model  = "virtio"
    bridge = "vmbr0"
  }
}
This is us creating our first, simplest virtual machine using a text file.
Now let’s apply the already-familiar command again:
docker compose -f docker-compose.yml run --rm terraform planTerraform should show all the changes it’s about to apply.
Step 8: Applying the configuration#
Now let’s actually start deploying our virtual machine for real.
docker compose -f docker-compose.yml run --rm terraform applyWe’ll need to confirm our secret desire to start creating the virtual machine by typing:
yesNow the VM cloning in Proxmox will begin, and the status will be visible in ProxmoxVE’s logs. Once finished, the VM will start automatically.
In the Summary you’ll see the IP - thanks to the guest agent.
You can open the console - the VM is up and ready.
Step 9: Testing recovery#
Now let’s check how the recovery process works. Since we did everything with Terraform, let it now handle maintaining our infrastructure.
Delete the VM manually in ProxmoxVE, then run the already-familiar command again:
docker compose -f docker-compose.yml run --rm terraform applyStep 10: Updating the configuration#
Let’s change our VM configuration, for example:
memory = 8192
cores  = 2
Apply again:
docker compose -f docker-compose.yml run --rm terraform applyA couple of seconds and voilà, everything’s updated.
If this article helped you, feel free to subscribe to my YouTube channel and become a sponsor on Boosty.