
Why merge local-lvm and local?#
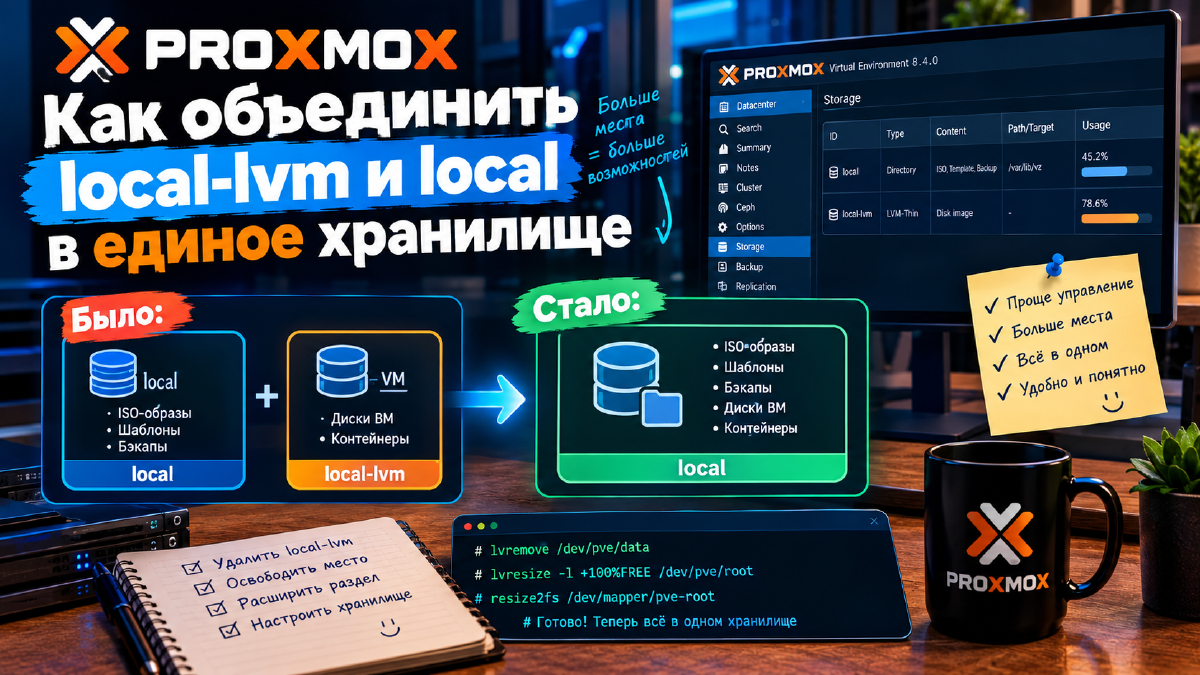
After installing Proxmox VE, two local storages are created by default:
local- the/var/lib/vzfolder, intended for ISO images, templates, and backups.

local-lvm- an LVM pool where the disks of virtual machines and containers are stored.
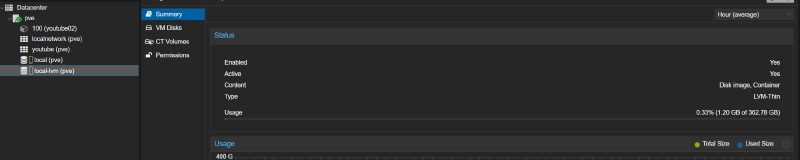
At first glance this is convenient, but this separation has downsides:
- The size of
local-lvmis fixed, and it’s hard to free up space for ISOs or backups. - Files in
local-lvmare not directly visible in the file system. - Expanding or migrating the pool is problematic.
That’s why many administrators prefer to merge local-lvm and local into a single file-based storage, where everything is stored as regular files.
Available approaches#
There are two approaches:
- Remove the LVM pool and use all the space for ext4 (or ZFS).
- Migrate the disks from local-lvm to local, then remove the LVM pool.
We’ll go with the first option, since it’s simpler if you’re installing Proxmox from scratch - it’s safer, and you won’t lose data.
Step 1. Remove the LVM storage from the Storage list in the Datacenter section of our Proxmox#
Go to the Datacenter menu, select Storage, select the local-lvm storage we don’t need, and click the remove button.

As a result, we’re left with only the local storage.
However, the problem is that the “supposedly” freed disk space isn’t actually freed yet.
Step 2. Freeing up space#
Go into the shell of our node and start the magic session.
First, let’s actually remove the logical volume with the command
lvremove /dev/pve/data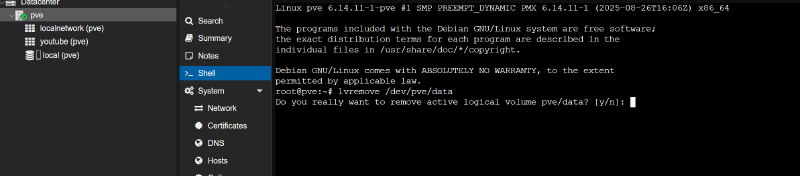
and confirm the action.
Step 3. Increasing the size of the logical volume#
Now let’s use the following command to increase the size of the logical volume (LVM) so it takes up all the available unallocated space on the physical volume (PV).
lvresize -l +100%FREE /dev/pve/root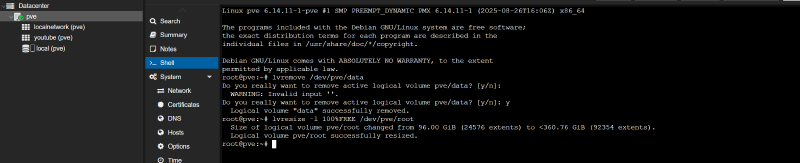
What does the command above mean, you ask me, my curious little friend. Good question.
What happens step by step
lvresizeis a utility for resizing a Logical Volume in LVM.-l +100%FREEis a flag that says: “Add all the remaining free space from the volume group (VG) to this logical volume.”
That is, if our pve group has, say, 50 GB of unused space left, this command will add all of it to /dev/pve/root.
/dev/pve/root is the path to the logical volume where the main file system is installed (usually /).
And finally, today’s last command
Step 4. Expanding our file system#
resize2fs /dev/mapper/pve-rootexpands our ext4 file system inside the specified partition.
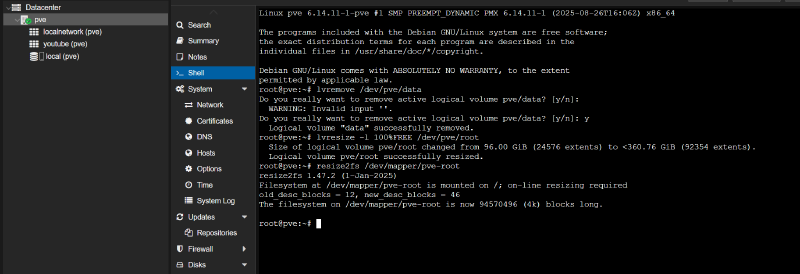
Now let’s check what we’ve done.
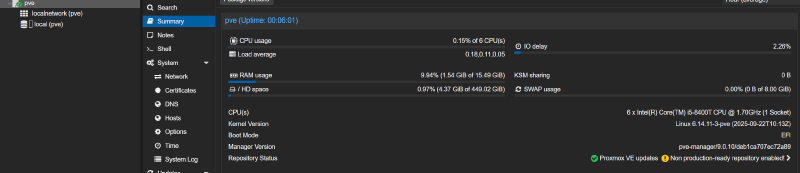
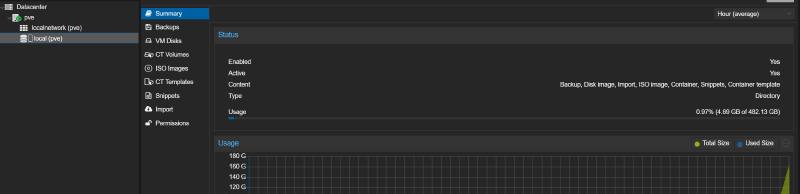
As you can see, now all disk space is used within a single local storage.
But there’s one more, final and mandatory, touch needed.
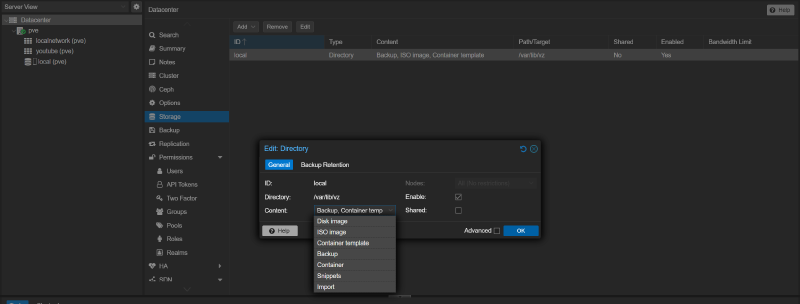
Step 5. The final touch#
We need to tell the system that the local storage should now be used for all data types, including the type that was previously only used by local-lvm.
Post scriptum#
If you enjoyed this article or found this knowledge useful, consider supporting the channel on Boosty via the link in the contacts.