
Introduction#
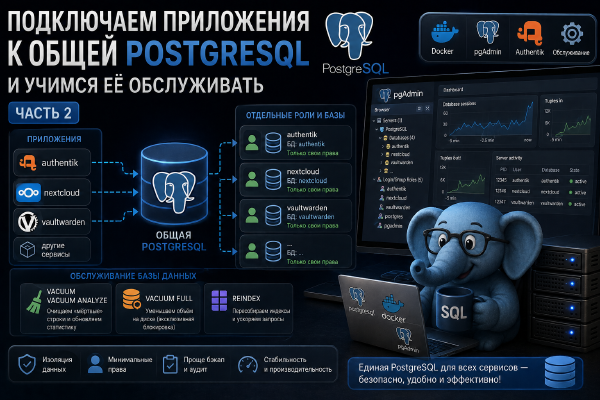
In pretty much every video I make about setting up a service or app on my home server, an external database shows up somewhere in the mix - usually Postgres. Someone on my Telegram channel once asked why I don’t just run one shared database for everything instead of spinning up a separate one per service. Fair question - it’s more resource-efficient, easier to manage, and backing up a single database container beats juggling a dozen of them. They’re right. The real reason is much less interesting than that, though: my audience spans every skill level imaginable, so I have to keep things approachable, and re-explaining “here’s my external database, here’s how the container talks to it, go watch my other videos if you want the details” in every single episode would rightly get old fast. So let’s actually fix this - we’ll move everything onto one shared PostgreSQL database and, while we’re at it, set up pgAdmin as a web UI for managing it.
Heads up! Yes, running a full PostgreSQL instance at home is arguably overkill. But plenty of serious self-hosted apps - Nextcloud, Authentik, Linkwarden, you name it - list it as their recommended database. So why not go all in?
Disclaimer To keep this article manageable, we’re only going to install PostgreSQL and pgAdmin and get them talking to each other here. Wiring up third-party containers to the shared PostgreSQL instance is its own can of worms, saved for a separate article (part 2).
What is PostgreSQL#
PostgreSQL is a powerful, open-source object-relational database. It’s reliable, flexible, and endlessly extensible - which is exactly why it’s one of the most widely used databases on the planet.
History#
- It started life back in 1986 at UC Berkeley under the name POSTGRES.
- SQL support arrived in 1996, and that’s when it picked up its current name, PostgreSQL.
- These days it’s maintained by a global open-source community and runs everything from scrappy startups to large enterprises.
Key features of PostgreSQL#
Full SQL compliance
- Support for the SQL:2011 standard and many extensions.
- Rich syntax for complex queries.
Extensibility
- Ability to add your own data types, functions, and operators.
- Support for custom extensions, such as PostGIS for geospatial data.
Reliability and fault tolerance
- Write-ahead log (WAL) to protect against data loss.
- Support for replication and clustering.
Performance
- Query optimization via indexes (B-tree, GiST, GIN, etc.).
- Support for parallel query execution.
Security
- Strong access control system.
- Encrypted connections (SSL/TLS).
JSON support
- Ability to work with both relational and document-oriented data.
Where PostgreSQL is used#
- Web apps - backends built on Django, Ruby on Rails, Laravel, Spring Boot.
- Analytics - BI platforms, reporting pipelines.
- GIS systems - courtesy of the PostGIS extension.
- Finance and banking - where its reliability and transactional guarantees really matter.
PostgreSQL in the development ecosystem#
PostgreSQL runs on:
- Windows, Linux, macOS, and BSD.
- Cloud services (AWS RDS, Google Cloud SQL, Azure Database for PostgreSQL).
- Docker containers.
Advantages of PostgreSQL#
- Free and open source.
- The community ships updates and fixes at a steady clip.
- Scales from tiny hobby projects up to genuinely high-load systems.
When to choose PostgreSQL#
- When you need a reliable, scalable DBMS.
- When SQL compatibility and extensibility matter.
- When the project needs to work with large volumes of data and complex analytical queries.
- When you need hybrid storage - relational and JSON data in the same database.
What is pgAdmin#
pgAdmin is PostgreSQL’s official, most widely used admin tool, wrapped in a graphical web interface. It means you’re not stuck living in the command line to manage your database - handy for admins, developers, and data folks alike.
History and purpose#
pgAdmin started as an open-source project aimed at making PostgreSQL easier to manage. Over the years it’s grown into a genuinely full-featured tool that handles both local and remote administration without breaking a sweat.
At its core, it gives you a convenient way to:
- Create, edit, and delete databases, tables, and functions.
- Run SQL queries.
- Monitor PostgreSQL’s status and performance.
- Configure users, permissions, and roles.
Key pgAdmin features#
Visual administration interface
- Create and manage schemas, tables, indexes, and views.
- Easily configure relationships between tables.
SQL editor
- Syntax highlighting.
- SQL autocompletion.
- Query history.
Monitoring and diagnostics
- View active connections.
- Analyze query execution (
EXPLAIN,EXPLAIN ANALYZE). - Charts of load and resource usage.
User and security management
- Create and configure roles.
- Manage access permissions.
- Manage security policies.
Support for connecting to remote servers
- Manage multiple PostgreSQL servers from a single interface.
- Works with both local and cloud infrastructure.
pgAdmin architecture#
pgAdmin is a web app, and you’ve got a few options for where to run it:
Locally - on your own computer.
In server mode - accessible via browser from anywhere.
In a Docker container - for quick deployment without installing dependencies.
Main components:
Backend - written in Python (Flask), handles request processing and interaction with PostgreSQL.
Frontend - written in JavaScript (React), powers the web interface.
Database storage - stores pgAdmin’s settings, the list of servers, and user sessions.
Why it’s convenient to run pgAdmin in Docker#
Spins up fast, no fiddly install process.
Upgrading is trivial - just bump the image tag.
Keeps things isolated instead of cluttering up your host system.
Plays nicely with PostgreSQL in the same
docker-compose.yml.
When to use pgAdmin#
When you need to administer PostgreSQL through a convenient web interface.
To visualize the database structure and make navigation easier.
For performance monitoring and query analysis.
If you have multiple PostgreSQL servers and want centralized management.
Why we’ll install it in Docker#
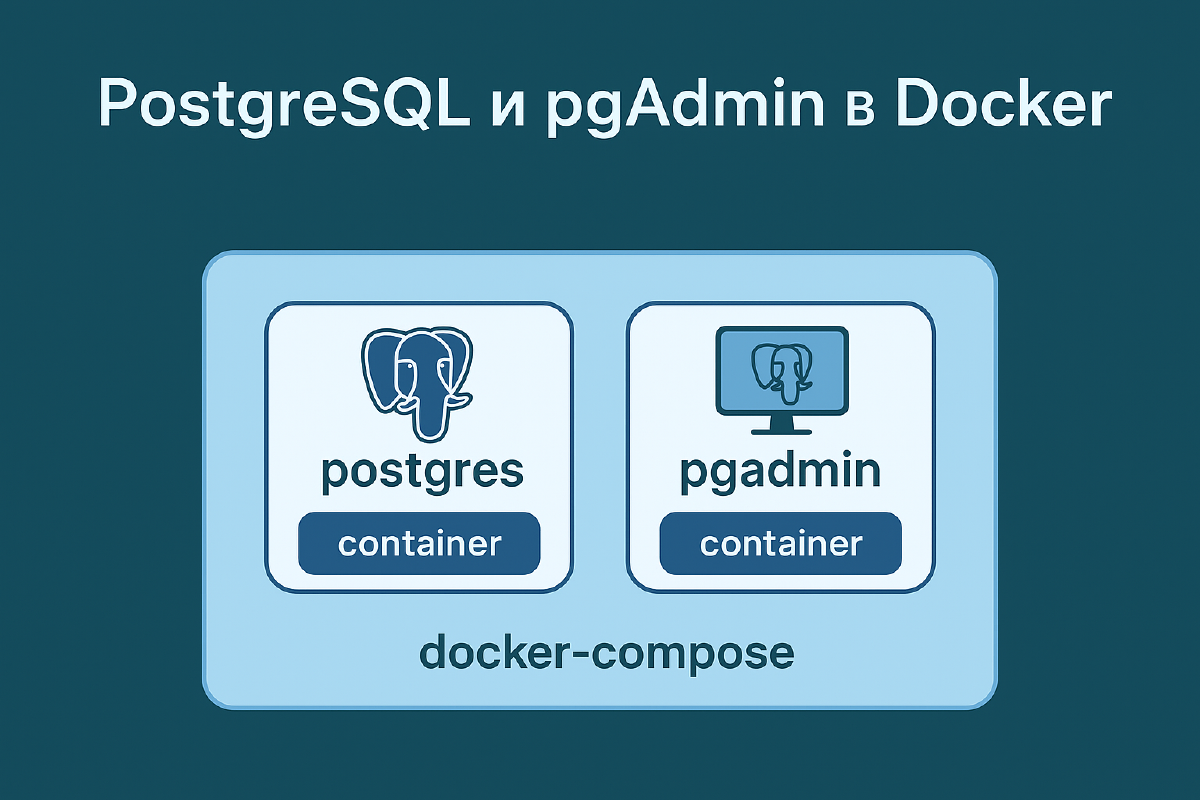
Docker Compose lets us spin both of these up quickly and cleanly, without touching the host system directly.
In this guide, we’ll write a docker-compose.yml that runs PostgreSQL and pgAdmin as two separate containers. You could cram both into one Compose file, sure, but since we want the database container walled off from everything else, we’re keeping the database and the admin app apart.
Requirements#
Before you start, make sure you have:
Ideologically speaking, the database shouldn’t just sit in its own container - it should live off the working machine entirely, say on a NAS. That shields it from anything going wrong with the host, and lets other machines and services on your local network connect to it too. As a bonus, you can nuke and rebuild your working machine whenever you want; just point it back at the database’s path and everything picks up right where it left off.
Setting up the PostgreSQL project#
Let’s create a directory for our database
mkdir postgres
cd postgres
sudo touch docker-compose.yml
Now let’s write a simple docker-compose file for it.
All the variables below are pulled straight from Docker Hub
services:
  postgres:
    image: postgres:16 # pick whatever version you consider appropriate, but as of August 2025 serious applications still tend to use version 16
    container_name: postgres
    restart: always
    # set shared memory limit when using docker compose
    #shm_size: 128mb
    # or set shared memory limit when deploy via swarm stack
    #volumes:
    #  - type: tmpfs
    #    target: /dev/shm
    #    tmpfs:
    #      size: 134217728 # 128*2^20 bytes = 128Mb
    environment: # set the minimum required variables
      - POSTGRES_PASSWORD=password
      - POSTGRES_USER=stilicho
      - POSTGRES_DB=postgres
    ports: # if all your database-consuming containers will be on the same docker network, you can comment out the ports. Containers will talk to each other by container name inside docker
      - 5432:5432
    volumes:
      - /home/stilicho/docker/postgres/pgdata:/var/lib/postgresql/data # path on the host where the database will be stored
    networks: # specify the docker network the database will run on. All containers on the same docker network can communicate by container name
      database:

networks:
    database:
        external: true
Create the docker network with
docker network create databaseNow fire up the project with docker compose up -d.
Once the image is pulled and the container is running, you’ll notice a new pgdata folder show up at the path you specified in the compose file.
Try opening it and you won’t see anything useful - that’s expected. The postgres user has its own permissions, and they don’t line up with whatever user you’re logged in as. If you just want to confirm there’s actually something in there, run sudo cd pgdata && sudo ls. Once you spot files and directories inside pgdata, leave them alone - that’s all the confirmation you need that things are working.
Setting up the pgAdmin project#
Let’s create a directory for it too
mkdir pgadmin
cd pgadmin
sudo touch docker-compose.yml
And a simple docker-compose file for pgAdmin
Again, the variables here come from Docker Hub and the developer’s own docs for this particular version
services:
  pgadmin:
    image: dpage/pgadmin4:9.6.0 # the latest version of the app as of when this article was written
    container_name: pgadmin
    restart: always
    environment: # the minimum variables required to start the container
      - PGADMIN_DEFAULT_EMAIL=user@domain.com
      - PGADMIN_DEFAULT_PASSWORD=SuperSecret
    volumes:
      - /home/stilicho/docker/pgadmin/data:/var/lib/pgadmin # path to the folder where all the app's data will be stored
    ports: # container ports. Consider whether you need to close these off if you're using a reverse proxy. For the purposes of this article I'm leaving them open.
      - 8080:80
    networks: # define the networks pgAdmin will run on.
      - proxy # the network where my Traefik reverse proxy runs
      - database # the network where our database runs
    labels: # standard Traefik reverse-proxy labels for the pgAdmin container, so we can access the web panel via a subdomain over an SSL-secured connection
      - "traefik.enable=true"
      - "traefik.http.routers.pgadmin.entrypoints=http"
      - "traefik.http.routers.pgadmin.rule=Host(`pgadmin.your_domain.ru`)"
      - "traefik.http.middlewares.pgadmin-https-redirect.redirectscheme.scheme=https"
      - "traefik.http.routers.pgadmin.middlewares=pgadmin-https-redirect"
      - "traefik.http.routers.pgadmin-secure.entrypoints=https"
      - "traefik.http.routers.pgadmin-secure.rule=Host(`pgadmin.your_domain.ru`)"
      - "traefik.http.routers.pgadmin-secure.tls=true"
      - "traefik.http.routers.pgadmin-secure.service=pgadmin"
      - "traefik.http.services.pgadmin.loadbalancer.server.port=80"
      - "traefik.docker.network=proxy"

networks:
    database:
        external: true
    proxy:
        external: true
Before you start the container, though, you need to manually create the directory where pgAdmin’s data will live and set the right permissions on it. This step isn’t optional.
Set the permissions with
sudo chown -R 5050:5050 <host_directory>` # userid and groupid taken from the official documentation.Now start the pgAdmin compose file
docker compose up -dIt’ll pull and start quickly enough.
Depending on how you’ve set things up, you can now reach it at your_ip_address:8080, or in my case, at the subdomain pgadmin.your_domain.ru
You’ll land on the welcome screen
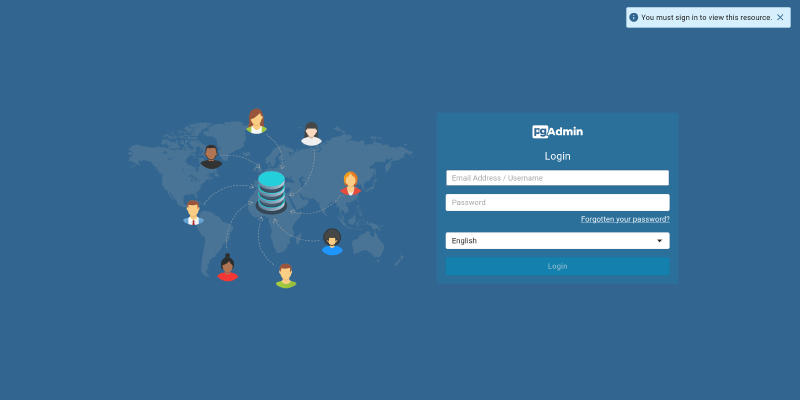
Log in with the credentials you set in the docker compose file
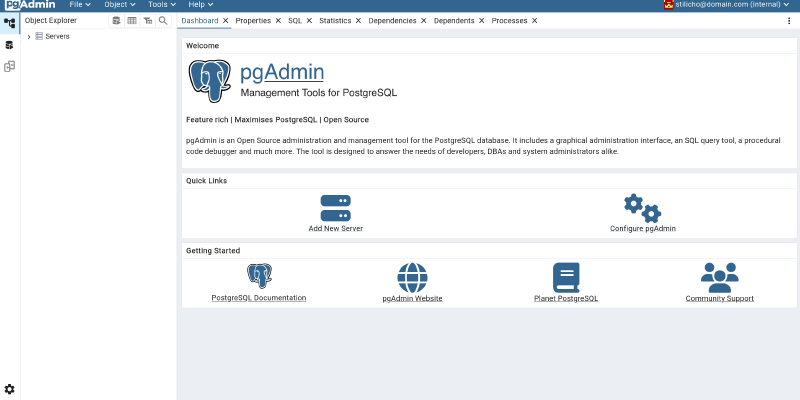
And you’re in - pgAdmin’s standard landing screen
This article’s gotten long enough already, so let’s knock out two must-do setup steps and call it done.
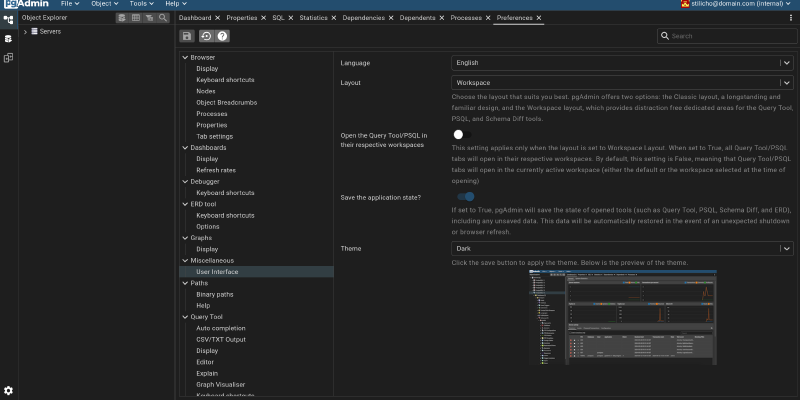
First, dark mode, obviously.
Go to Files > Preferences > Miscellaneous > User Interface and pick the dark theme.
With the important stuff (the color scheme) out of the way, let’s actually connect to our database.
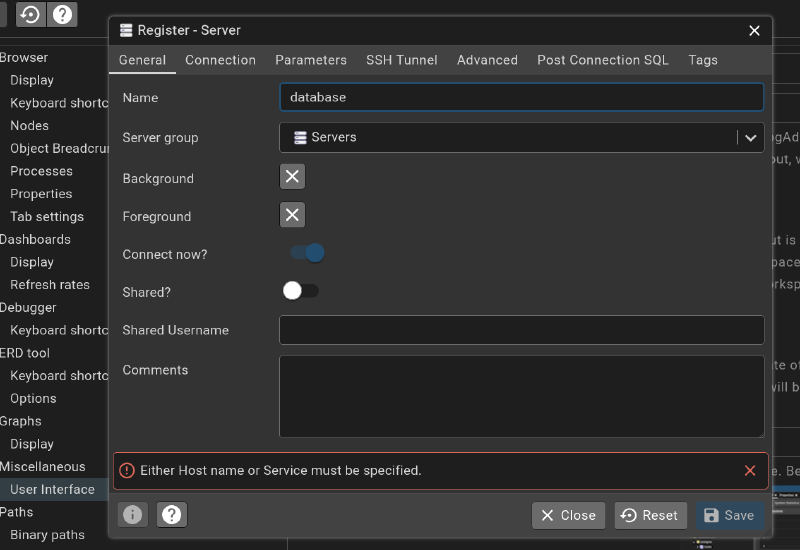
Right-click servers in the pgAdmin browser, choose register, then Server.
On the General tab of the window that pops up, give the server a name
Switch to the Connection tab and point it at the address where your database lives. If it’s on the same docker network, the container name is all you need - docker takes care of the rest.
The login field will already be filled in with what you set in the compose file; for the password, use the one you set for the database itself
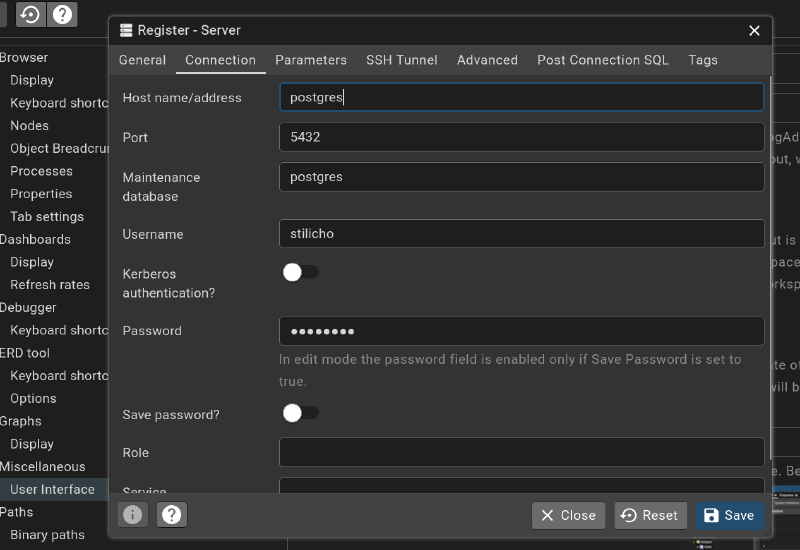
Flip the “save password” toggle if you don’t want to type it in every time.
If everything went to plan, you’ll now see your Postgres database sitting under the server list
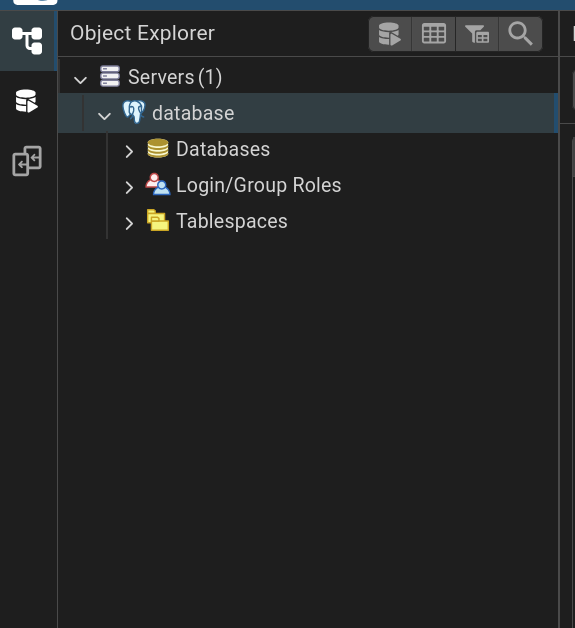
At this point we’ve got full access to the database and are ready to start pointing services at it. For how to properly spin up a dedicated user and database per app and hook it into this shared PostgreSQL instance, check out part two.
If you found this useful, consider becoming a sponsor on Boosty via the link in the contacts.